Creating a Self-Signed Certificate for Apache on CentOS 8


This will be a short tutorial showing how to create self-signed certificates on CentOS 8.
What is a Self-Signed SSL Certificate?
A self-signed SSL certificate, unlike other SSL certificates which are signed and trusted by a Certificate Authority (CA), is a certificate signed by an individual who owns it. It is totally free to create one and is a cheap way of encrypting your locally hosted web server.
Step 1: Verification of Apache status
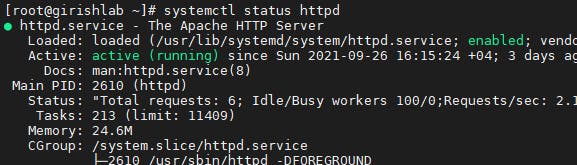
Firstly, verify that the Apache web server is installed and running.
systemctl status httpd
Installing Mod_SSL
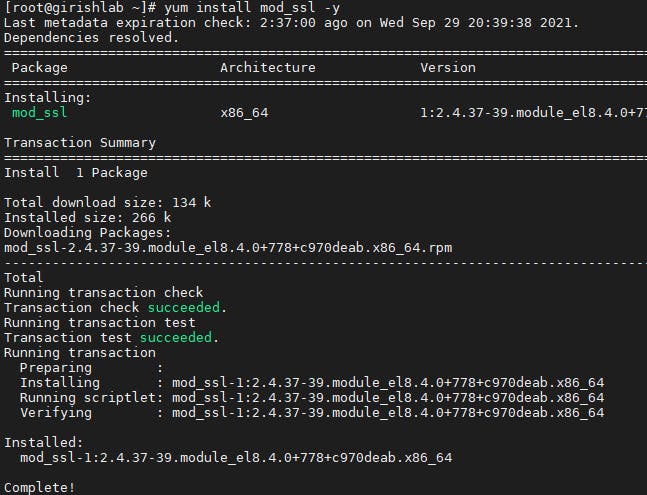
To enable the installation and setup of the local self-signed SSL certificate, the mod_ssl package is required.
yum install mod_ssl -y
Create the SSL Certificate
The first thing to do is to create a /etc/ssl/private/ folder on the server, which we’ll use to store the SSL/TLS key files. Since the secrecy of this key is essential for security, we will lock down the permissions to prevent unauthorized access:
mkdir /etc/ssl/private/
chmod 700 etc/ssl/private/

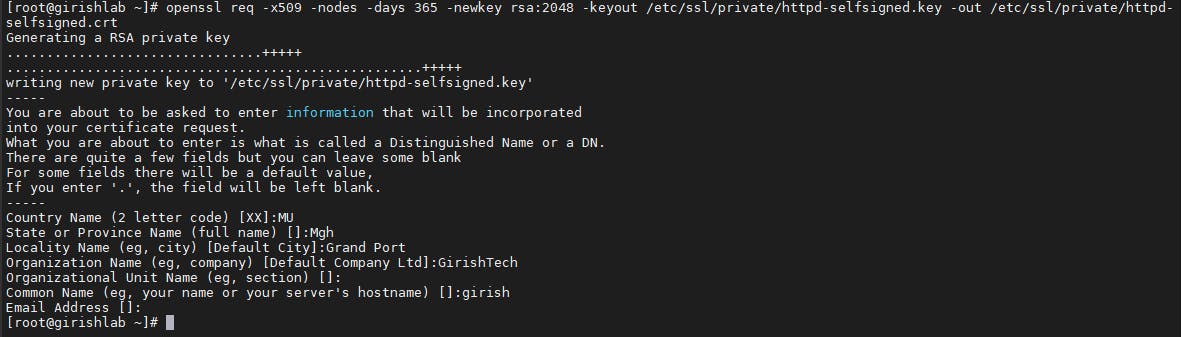
Now we create the SSL key and certificate files with the OpenSSL command:
openssl req -x509 -nodes -days 365 -newkey rsa:2048 -keyout /etc/ssl/private/httpd-selfsigned.key -out /etc/ssl/private/httpd-selfsigned.crt
Explanation of the above command used:
- req – This is the command line tool for creating and managing OpenSSL certificates, keys, and other files.
- x509 – This specifies that we want to use X.509 certificate signing request (CSR) management. X.509 is a public key infrastructure standard that SSL and TLS adhere to for key and certificate management.
- days – This option sets the length of time that the certificate will be considered valid. We set it for one year here. Many modern browsers will reject any certificates that are valid for longer than one year.
- newkey – This specifies that we want to generate a new certificate and a new key at the same time. We did not create the key that is required to sign the certificate in a previous step, so we need to create it along with the certificate.
- rsa:2048 – RSA key processor, will generate a 2048 bit private key.
- keyout – This line tells OpenSSL where to place the generated private key file that we are creating.
- out – This tells OpenSSL where to place the certificate that we are creating.
After you enter the command, you will be redirected to a prompt where you can enter information about your website.
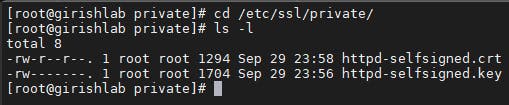
You can view the certificate in the path where it is generated. In this example, it is in /etc/ssl/private
cd /etc/ssl/private/
ls -l