Configure Apache to use the Certificate and Key on Centos 8


Having generated the SSL certificate file, It’s now time to install the certificate using Apache web server’s settings.
Open your config file, in previous tutorial, we had already created an conf file named example.conf
vim /etc/httpd/example.conf
Paste the below code into it:
<VirtualHost *:80>
        ServerName example.com
        ServerAlias www.example.com
        DocumentRoot /var/www/example.com

</VirtualHost>

<VirtualHost *:443>
        ServerName example.com
        ServerAlias www.example.com
        DocumentRoot /var/www/example.com

        SSLEngine on
        SSLCertificateFile /etc/ssl/private/httpd-selfsigned.crt
        SSLCertificateKeyFile /etc/ssl/private/httpd-selfsigned.key

</VirtualHost>
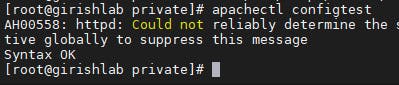
Save and close the file, then check your Apache configuration for syntax errors by typing:
apachectl configtest
You may see some warnings, but as long as the output ends with Syntax OK, you are safe to continue. If this is not part of your output, check the syntax of your files and try again.
When all is well, reload Apache to pick up the configuration changes:
systemctl reload httpd
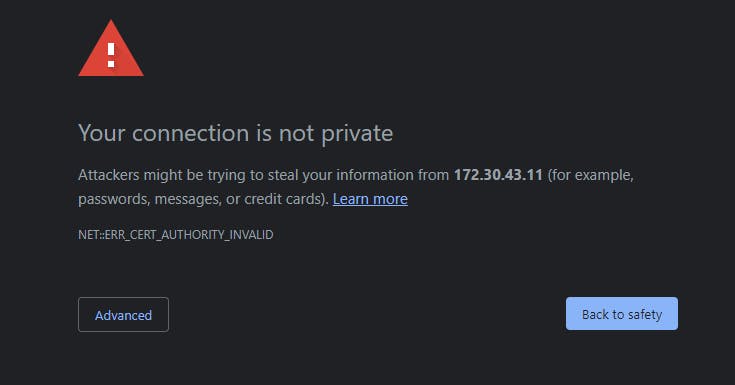
Now load your site in a browser, being sure to use https:// at the beginning.
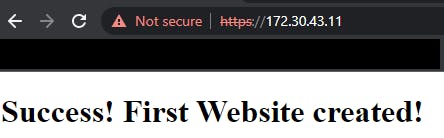
You should see an error. This is normal for a self-signed certificate! The browser is warning you that it can’t verify the identity of the server, because our certificate is not signed by any of the browser’s known certificate authorities. For testing purposes and personal use this can be fine. You should be able to click through to advanced or more information and choose to proceed.
After you do so, your browser will load the it worked! message.
In the next tutorial, we will see how we will add another VirtualHost section to our configuration to serve plain HTTP requests and redirect them to HTTPS.